

NM01ADLUT20
Choose Quantity
ADELIX — ADL-UT20 Ultrasonic Thickness Gauge with 2 Sensors
Portable UT Thickness Measurement System for Corrosion Monitoring & Material Inspection SKU: ADL-UT20-2Overview
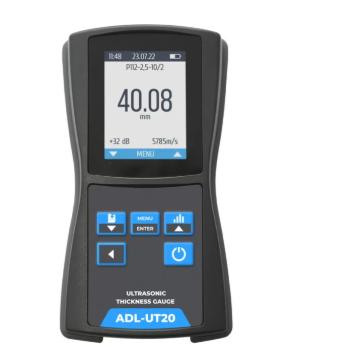
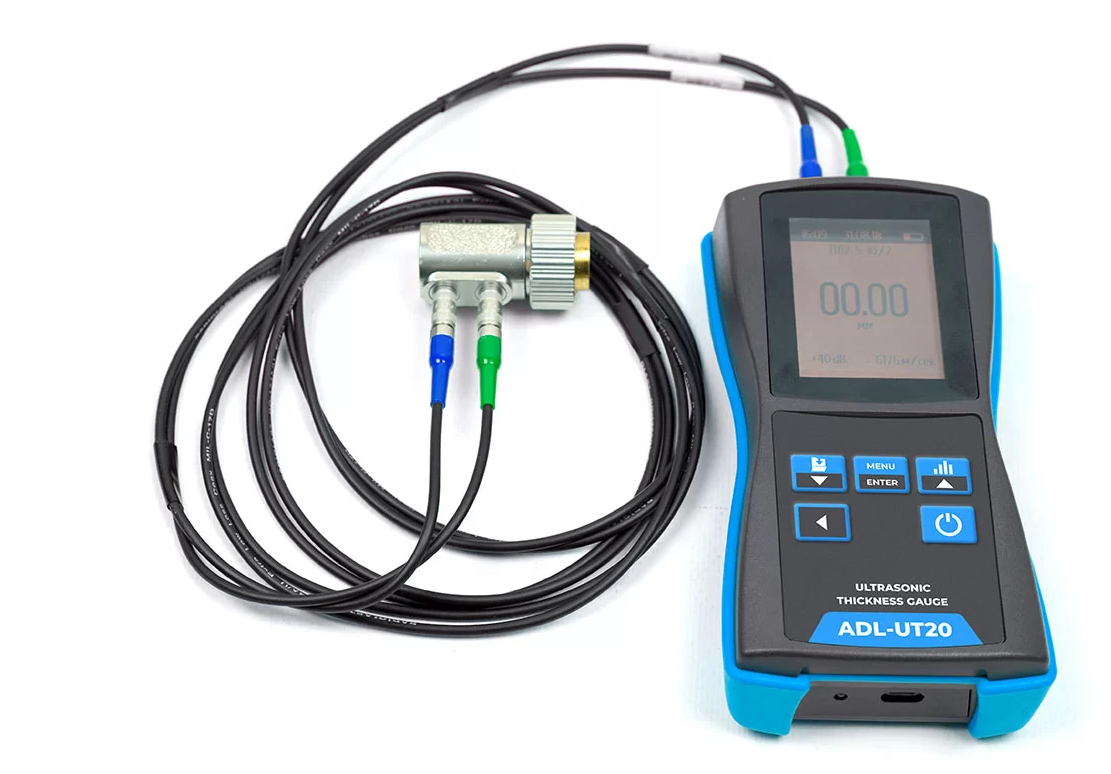
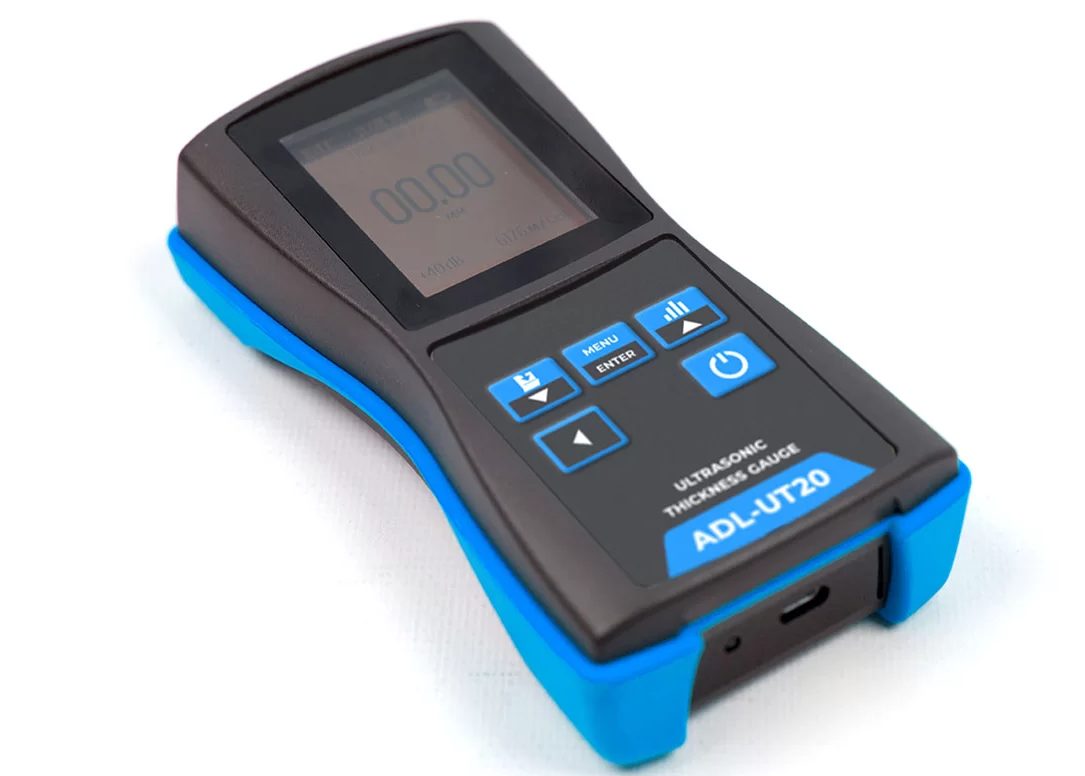
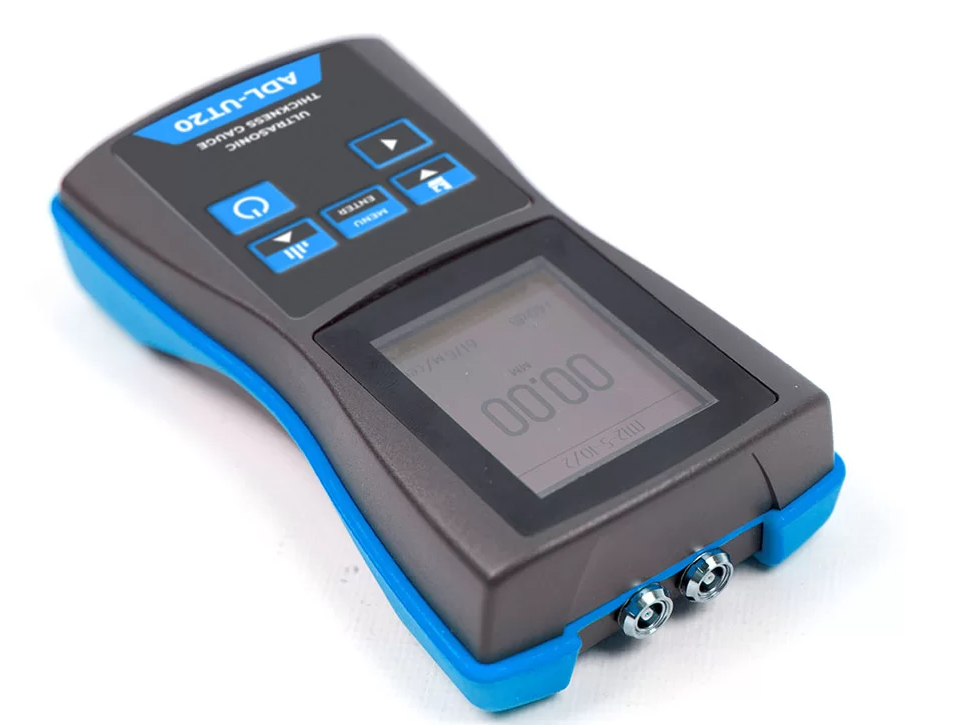
The ADELIX ADL-UT20 Ultrasonic Thickness Gauge is a portable inspection instrument designed for accurate material thickness measurement and corrosion monitoring. Supplied with two sensors, this system provides flexible inspection capability for different materials, thickness ranges, and surface conditions.
Using ultrasonic pulse-echo technology, the ADL-UT20 allows inspectors to measure thickness from one side of the material, making it ideal for pipelines, tanks, pressure vessels, and structural components. Its dual-sensor configuration improves versatility, allowing users to adapt the gauge to various inspection requirements.
Compact, reliable, and field-ready, the ADL-UT20 is suitable for professional NDT applications in industries such as oil & gas, power generation, manufacturing, and maintenance.
What's Included
| Item | Details |
|---|---|
| ADL-UT20 Unit | Ultrasonic thickness gauge |
| Sensors | 2 ultrasonic thickness measurement sensors |
| Couplant | Ultrasonic coupling gel |
| Batteries / Charger | Power supply accessories |
| Carrying Case | Protective storage and transport case |
| Documentation | User manual / operating instructions |
Box Dimensions & Shipping Weight (Estimated)
| Parameter | Imperial |
|---|---|
| Length | 12.0 in |
| Width | 10.0 in |
| Height | 5.0 in |
| Dimensions (L × W × H) | 12.0 × 10.0 × 5.0 in |
| Weight | 4.0 lb |
Key Specifications
| Parameter | Details |
|---|---|
| Instrument Type | Ultrasonic thickness gauge |
| Model | ADL-UT20 |
| Sensors Included | 2 sensors |
| Measurement Method | Ultrasonic pulse-echo |
| Operation | Portable / handheld |
| Application | Thickness measurement & corrosion monitoring |
| Manufacturer | ADELIX |
Performance Features
Dual Sensor Configuration
Includes two sensors for greater flexibility across different inspection applications.
Accurate Thickness Measurement
Provides reliable readings for material thickness verification and corrosion assessment.
One-Side Access Inspection
Allows measurement without requiring access to both sides of the component.
Stable Ultrasonic Performance
Supports repeatable results in field and workshop environments.
User-Friendly Design
- Easy-to-read digital display
- Simple operation for fast inspections
- Portable and lightweight design
- Designed for efficient NDT workflows
Built for Industrial Environments
- Durable construction for field use
- Reliable performance in demanding conditions
- Suitable for routine maintenance inspections
- Designed for professional ultrasonic testing applications
Compatibility
Compatible with:
- Ultrasonic thickness measurement sensors
- UT couplants
- Corrosion monitoring workflows
- Industrial inspection procedures
Ideal Applications
- Pipeline and tank thickness measurement
- Corrosion monitoring
- Pressure vessel inspection
- Manufacturing quality control
- Power generation maintenance
- General ultrasonic thickness testing
About ADELIX
ADELIX develops precision measurement and diagnostic equipment for industrial applications, providing reliable solutions for ultrasonic testing, hardness measurement, coating thickness measurement, vibration analysis, and alignment. Their products are designed to support accurate inspection, maintenance, and quality control workflows.
