

NM014421001
Choose Quantity
Accurately Measure Surface Cracks with the RMSL-S 0° Probe with Contact Magnet and Cable
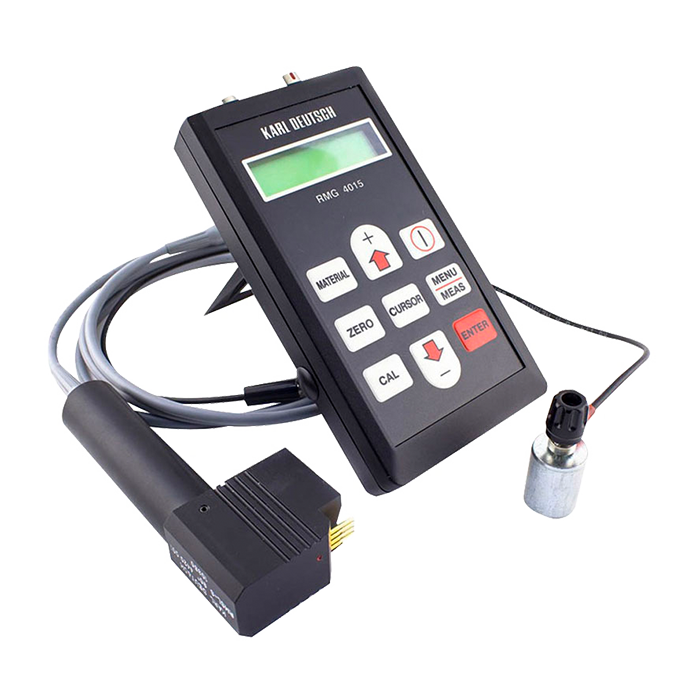
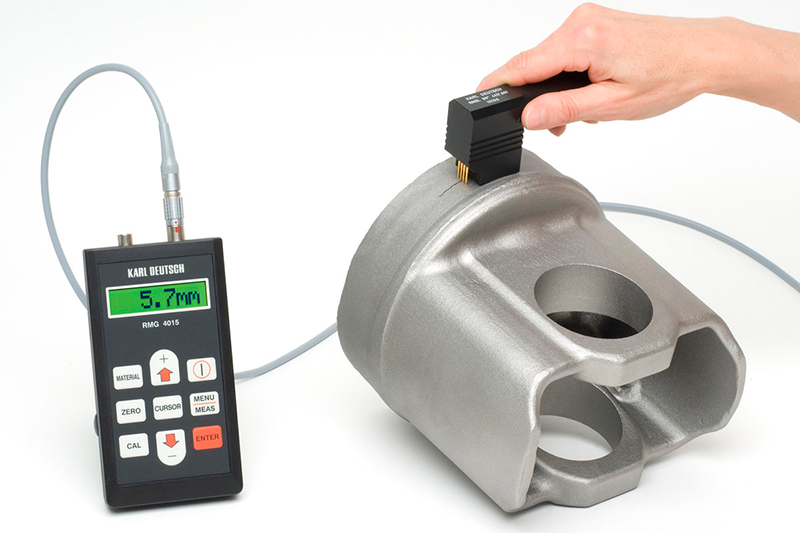
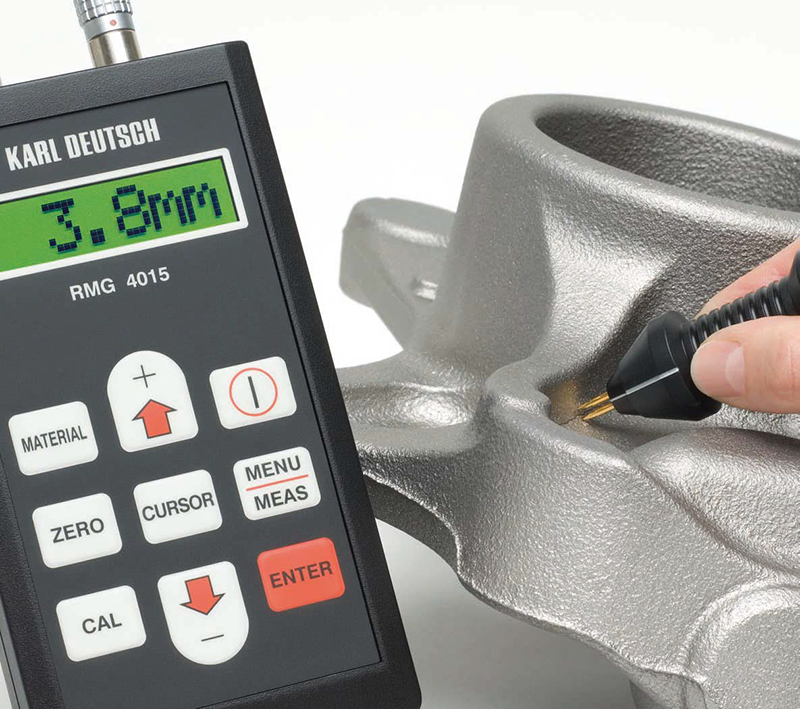
The RMSL-S 0° crack depth probe is a crucial tool for precise and reliable measurement of surface crack depths in electrically conductive materials. Designed for use with crack depth meters employing the AC potential drop (ACPD) method, this probe offers a convenient and effective solution for evaluating the severity of surface-breaking flaws.
The 0° configuration indicates that the contact pins of the probe are arranged linearly, making it suitable for measuring the depth of relatively straight cracks on flat or gently curved surfaces.
A key feature of the RMSL-S probe is the inclusion of a contact magnet. This integrated magnet serves as the second current pole, providing a stable and reliable electrical contact with the ferromagnetic test piece. This eliminates the need for a separate grounding point and simplifies the measurement process, especially in situations where access is limited or a firm connection is required.
The attached cable ensures a secure and consistent connection between the probe and the crack depth meter, transmitting the necessary electrical signals for accurate depth calculation.
Key Features:
0° Linear Pin Arrangement: Ideal for measuring relatively straight surface cracks.
Integrated Contact Magnet: Provides a stable and reliable second current pole, simplifying measurements on ferromagnetic materials.
Durable Cable: Ensures a secure and consistent electrical connection to the crack depth meter.
Designed for ACPD Method: Compatible with crack depth meters utilizing the AC potential drop technique.
Facilitates Accurate Crack Depth Assessment: Enables informed decisions regarding material integrity and potential rework.
Suitable for Ferromagnetic Materials: The contact magnet enhances usability on steel and iron components.
Typical Applications:
Measuring the depth of fatigue cracks in metallic structures.
Evaluating the severity of stress corrosion cracks.
Assessing the depth of cracks resulting from manufacturing processes.
Quality control in welding and fabrication.
Maintenance and inspection in various industries, including aerospace, automotive, and power generation.
Note: This probe is primarily associated with the Karl Deutsch RMG 4015 Crack Depth Meter. Ensure compatibility with your specific crack depth measurement instrument before purchase.
